
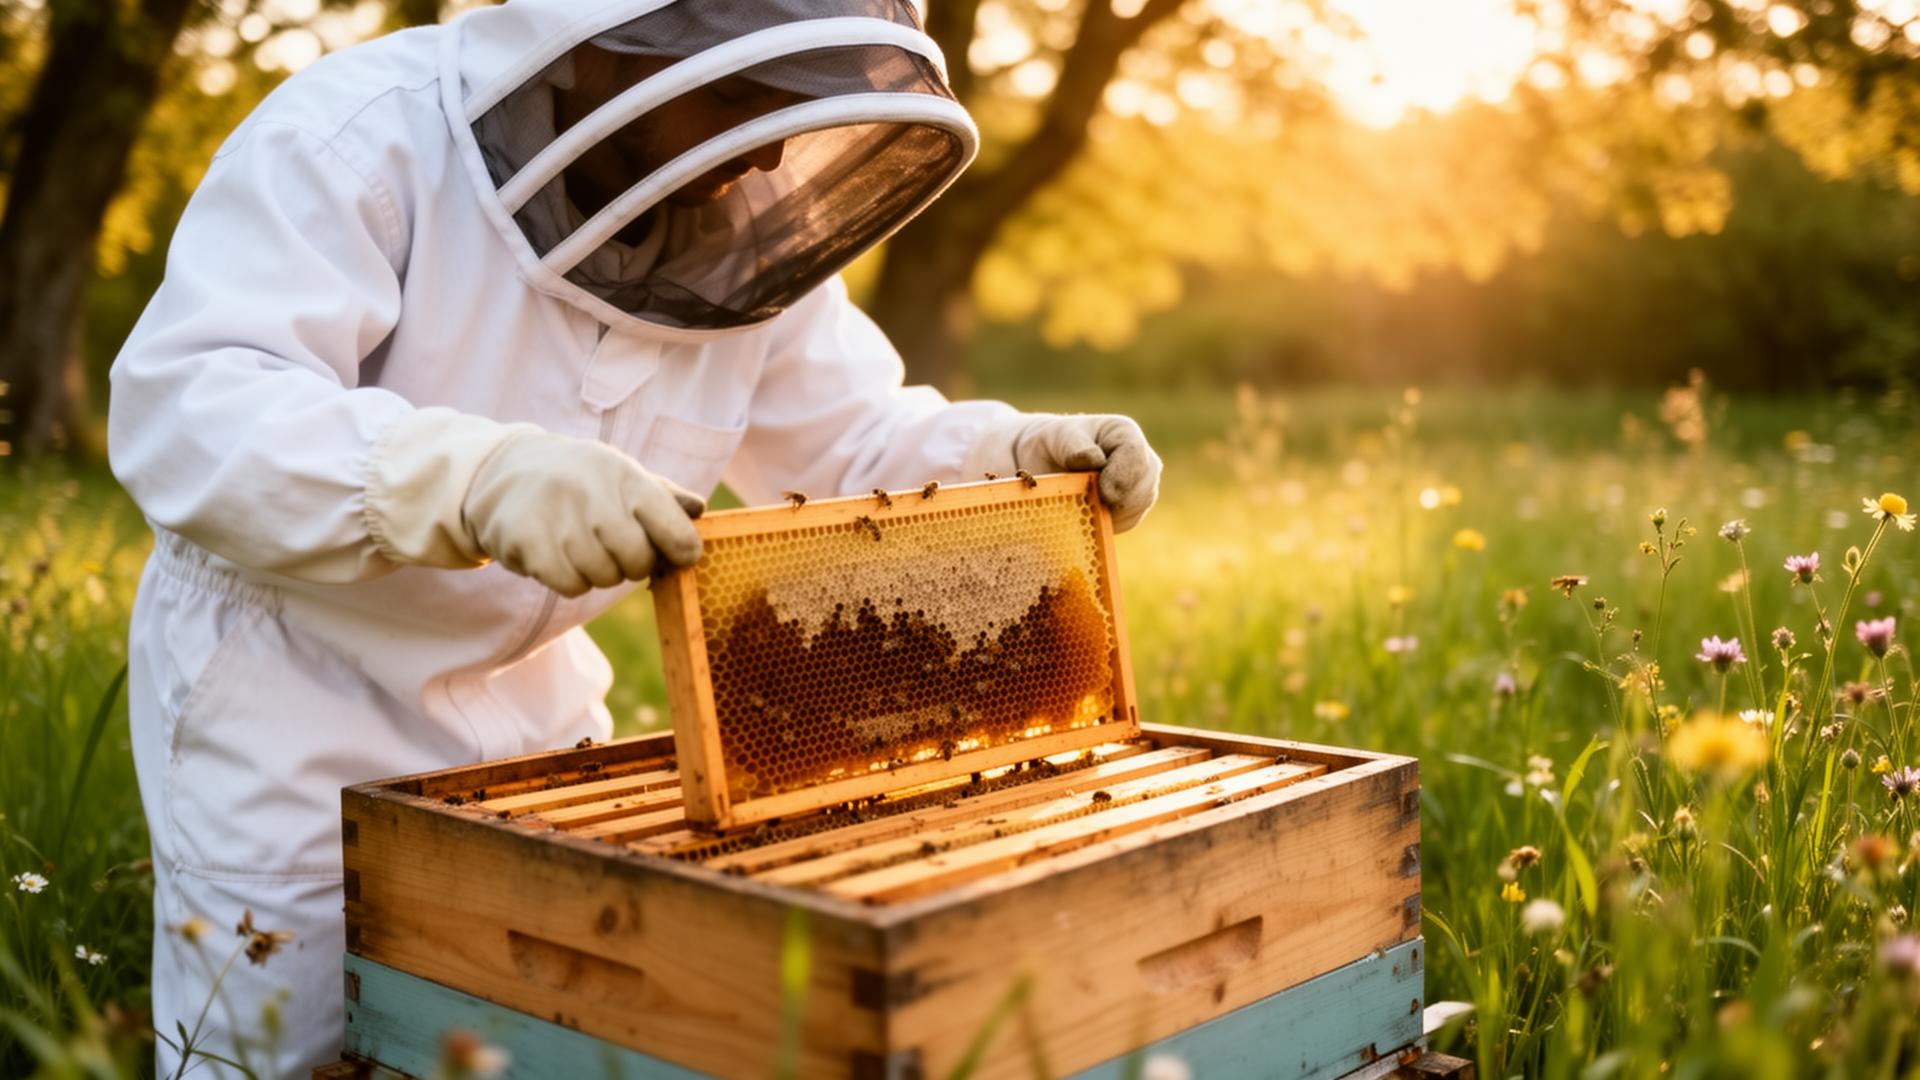
Starting your first beehive is one of the most rewarding journeys you can embark on. Whether you're drawn to beekeeping for the honey, the pollination benefits for your garden, or simply a love of nature, this comprehensive guide will walk you through everything you need to know — from choosing your first hive to harvesting your first jar of golden honey.
Why keep bees?
Honey bees are essential pollinators responsible for roughly one-third of the food we eat. By keeping bees, you directly support local ecosystems while enjoying a steady supply of raw, unprocessed honey — something you simply can't get from a store shelf. Beyond honey, your hives will produce beeswax, propolis, and pollen, each with its own culinary and wellness applications.
Beekeeping also teaches patience, observation, and a deep respect for the natural world. There's nothing quite like opening a hive on a warm spring morning and watching thousands of bees working in perfect harmony.
Pro tip
Start with two hives instead of one. This allows you to compare colony health, share resources between hives, and gives you a backup if one colony struggles.
Essential equipment
Before your bees arrive, you'll need to have your equipment ready. Here's a breakdown of the essentials:
Hive bodies & frames
Langstroth hives are the most common. You'll need at least two deep boxes for the brood chamber and one or two medium supers for honey storage.
Protective gear
A quality veil and jacket (or full suit) and leather gloves. As you gain confidence, many beekeepers switch to nitrile gloves for better dexterity.
Smoker & hive tool
The smoker calms bees during inspections. A hive tool is indispensable for prying apart frames sealed with propolis.
Feeder
A sugar-syrup feeder helps new colonies build comb quickly when natural nectar flows are scarce.
Choosing your bees
You have three main options for acquiring bees: package bees, nucleus colonies (nucs), or full established hives. Each has advantages depending on your budget, timeline, and experience level.
Package bees typically come in a 3-pound screened box with a mated queen. They're the most affordable option and widely available in spring. The downside is they need to build all their comb from scratch, so honey production in the first year is usually modest.
Nucleus colonies are small, established colonies on 5 frames with an actively laying queen, brood in all stages, and food stores. They give you a head start and are our recommended choice for beginners.
Full hives are the fastest route to honey production but come at a higher cost. They're ideal if you want to skip the establishment phase entirely.
Your first year: month by month
Install your bees. Feed sugar syrup (1:1 ratio) to stimulate comb building. Inspect weekly to ensure the queen is laying.
The colony grows rapidly. Add supers when 80% of frames are drawn. Watch for signs of swarming — split if needed.
Peak nectar flow in many regions. Monitor honey supers and add more as needed. This is when the magic happens.
Harvest surplus honey, leaving at least 60 lbs for the colony to overwinter. Treat for varroa mites.
Reduce the entrance, add mouse guards, and ensure adequate ventilation. Leave the bees alone — they know what they're doing.
Harvesting your first honey
The moment you've been waiting for. When your super frames are at least 80% capped, they're ready to harvest. Remove the bees using a fume board or bee brush, then bring the frames inside for extraction.
Uncap the cells with a hot knife or uncapping fork, place frames in an extractor, and spin. Strain the honey through a fine mesh into food-grade buckets and let it settle for 24–48 hours before bottling. There's nothing in the world quite like tasting honey from your own hives for the first time.
Ready to get started?
Browse our selection of live bees, nucleus colonies, and complete hive setups.
Shop live bees